
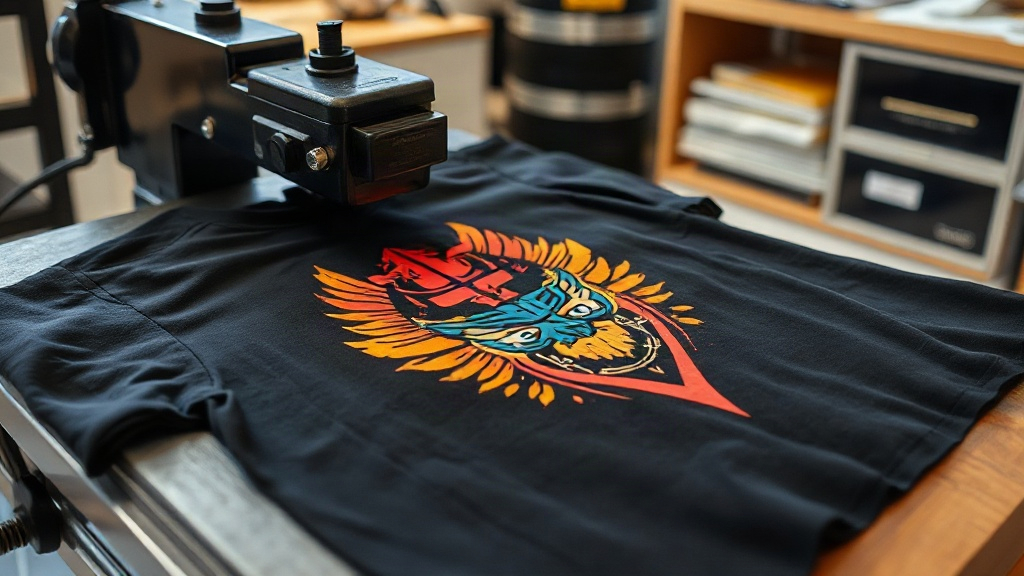
If you've been exploring custom apparel printing, you've likely encountered DTF Transfers. This innovative technology is rapidly gaining popularity for its versatility and vibrant results. Unlike traditional methods that require specific fabrics, DTF transfers adhere to almost any material, opening up a world of possibilities for creators and businesses alike. In this guide, we'll walk you through everything you need to know to get started with DTF transfers, from understanding the process to achieving professional-quality prints at home.
What Are DTF Transfers?
DTF stands for Direct to Film. It's a printing method where your design is printed onto a special film, coated with a powdered adhesive, and then heat-pressed onto your fabric. The result is a soft, stretchable print that feels like part of the garment. Unlike DTG (Direct to Garment) printing, which requires pretreated fabrics, DTF transfers work on cotton, polyester, blends, and even leather or canvas. This flexibility makes DTF a game-changer for small businesses and hobbyists who want to print on diverse items without investing in multiple techniques.
Why Choose DTF Transfers?
There are several compelling reasons to consider DTF transfers for your next project:
- Fabric versatility: Works on almost any material, including dark and light colors.
- No weeding required: Unlike vinyl, there's no tedious cutting and weeding.
- Durable and vibrant: Prints resist cracking, peeling, and fading.
- Cost-effective for small batches: No minimum order quantities; print one or many.
- Soft feel: The adhesive powder creates a flexible, lightweight layer.
These benefits make DTF transfers ideal for custom t-shirts, tote bags, hats, and more.
How DTF Transfers Work: Step by Step
Understanding the DTF process helps you troubleshoot and perfect your technique. Here's a breakdown of the key stages:
1. Design Preparation
Start with a high-resolution image. DTF printers use CMYK plus white ink, so your design should be in a compatible format (PNG or TIFF with transparent background). Remember that white ink will be printed as a base, so colors may appear slightly different on screen. For best results, use vector graphics or 300 DPI raster images.
2. Printing onto Film
The printer lays down the colored inks, followed by a white ink layer. This white layer acts as an adhesive and ensures the colors pop on dark fabrics. The film is then coated with a hot-melt adhesive powder, which is shaken off and melted using a heat source. This step is crucial for the transfer's durability.
3. Curing the Powder
After powdering, the film goes through a curing oven or under a heat gun to melt the powder into a gel-like state. This activates the adhesive. Proper curing prevents the powder from sticking to the wrong areas and ensures a smooth transfer.
4. Heat Pressing
Set your heat press to the recommended temperature (usually around 300-325°F) and pressure (medium to firm). Place the transfer film on your fabric, adhesive side down, and press for 10-15 seconds. For peel, you can either hot peel or cold peel depending on the film type; most DTF films are cold peel, meaning you wait a few seconds before removing the film. Always follow the film manufacturer's instructions.
Common Challenges and How to Overcome Them
Even with a straightforward process, issues can arise. Here are some common problems and solutions:
Prints Peeling or Cracking
This usually indicates insufficient pressure, temperature, or time during heat pressing. Ensure your press is calibrated and apply consistent pressure. Also, check that the powder was fully cured; undercured powder leads to poor adhesion.
Dull or Faded Colors
Too much white ink or improper powder application can dull colors. Use the correct white ink settings and ensure the powder is evenly distributed but not clumpy. Additionally, pressing at too high a temperature can scorch the inks, so stay within the recommended range.
Film Sticking to the Fabric
If the film sticks, you may have peeled it too soon. Wait until the transfer is completely cool before peeling. For hot-peel films, peel immediately, but these are less common. Also, ensure the adhesive side is facing the fabric.
DTF vs. Other Printing Methods
How does DTF stack up against DTG, screen printing, and vinyl?
- DTG: Best for 100% cotton, but requires pretreatment and can be costly for small runs.
- Screen printing: Cost-effective for large orders but not practical for intricate designs or small batches.
- Vinyl: Great for simple designs but limited to single colors and requires weeding.
- DTF: Offers the best of all worlds: full-color, no weeding, works on many fabrics, and suitable for one-offs.
For businesses that need flexibility and high-quality results, DTF transfers are often the superior choice.
Tips for Perfect DTF Transfers
Achieving professional-looking prints requires attention to detail. Here are some expert tips:
- Invest in a quality printer: A dedicated DTF printer with white ink circulation prevents clogging and ensures consistent output.
- Use high-quality film and powder: Cheaper alternatives may cause jamming or poor adhesion.
- Control your environment: Humidity and dust can affect powder application; keep your workspace clean and dry.
- Test your settings: Every heat press is different; run test prints to dial in temperature, pressure, and time.
- Store transfers properly: Keep unused films in a cool, dry place to prevent powder from absorbing moisture.
Applications of DTF Transfers
DTF transfers aren't just for t-shirts. They can be used on:
- Hoodies and sweatshirts
- Tote bags and backpacks
- Hats and beanies
- Activewear (due to stretchability)
- Home textiles like pillowcases
The possibilities are endless, limited only by your creativity.
Frequently Asked Questions
Can I use DTF transfers on 100% polyester?
Absolutely. DTF transfers adhere well to polyester and other synthetic fabrics. However, polyester requires lower pressing temperatures to avoid melting or scorching. Always test a small area first.
How long do DTF prints last?
With proper application and care, DTF prints can last as long as the garment itself. They resist cracking and fading through multiple washes. To extend longevity, wash inside out in cold water and avoid harsh detergents.
Do I need a special printer for DTF?
Yes, DTF requires a printer equipped with white ink and the ability to print on film. You can also purchase pre-printed transfers from suppliers if you don't want to invest in a printer.
What is the difference between hot peel and cold peel DTF film?
Hot peel film is removed immediately after pressing while still hot, while cold peel film is removed after cooling for a few seconds. Cold peel is more common and generally yields a smoother finish.
DTF transfers are revolutionizing the custom apparel industry with their versatility, durability, and ease of use. Whether you're a hobbyist or a business owner, mastering DTF can elevate your creations. At DTF Transfers from dtftouch.com, we provide high-quality supplies and expertise to help you succeed. Start your DTF journey today and unlock endless printing possibilities.