
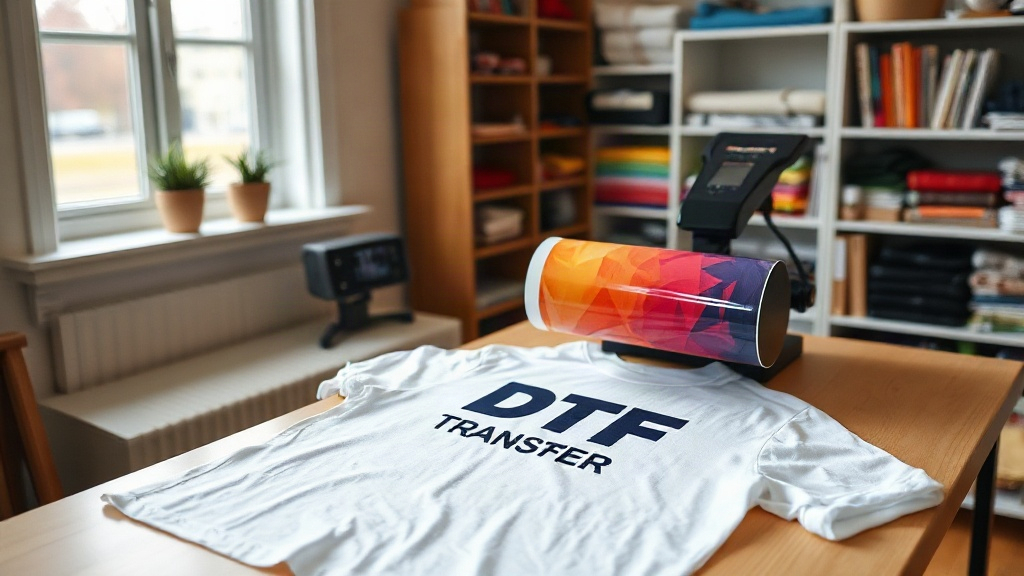
If you've been exploring custom apparel printing, you've likely encountered DTF Transfers. This technology has rapidly gained popularity for its versatility and vibrant results. Unlike traditional methods, DTF transfers allow you to print full-color designs on a wide range of fabrics with remarkable durability. Whether you're a hobbyist or a small business owner, understanding DTF transfers can open up new creative and commercial possibilities. In this guide, we'll walk you through everything you need to know to get started, from the basics to pro tips.
What Are DTF Transfers?
DTF stands for Direct to Film. It's a printing method where your design is printed onto a special PET film using pigment-based inks, then coated with a hot-melt adhesive powder. Once the powder is cured, the transfer is ready to be applied to fabric using a heat press. The result is a soft, stretchable, and highly durable print that bonds permanently to the material. Unlike DTG (Direct to Garment) printing, DTF transfers don't require pre-treatment and work on almost any fabric, including cotton, polyester, blends, and even leather.
Why Choose DTF Transfers?
There are several compelling reasons why DTF transfers have become a go-to for many printers:
- Versatility: Works on a wide range of fabrics and colors, including dark and light materials.
- Durability: The prints resist cracking, peeling, and fading even after multiple washes.
- Detail and Color: Achieve fine details and vibrant, full-color designs without the limitations of layered vinyl.
- Cost-Effective: No need for expensive pre-treatment or dedicated DTG printers; a standard inkjet printer with DTF inks and film can get you started.
- Speed: Once the transfer is prepared, application takes only seconds.
These benefits make DTF transfers ideal for small businesses, custom gift creators, and anyone looking to produce professional-quality apparel without a huge investment.
How to Apply DTF Transfers: Step-by-Step
Applying a DTF transfer is straightforward, but following the correct steps ensures a perfect bond and long-lasting result. Here's what you need to do:
1. Prepare Your Workspace
Set up your heat press in a well-ventilated area. Ensure the press is clean and calibrated. You'll also need a lint roller or cloth to remove any debris from the garment.
2. Preheat the Garment
Preheat your heat press to the recommended temperature, usually around 300°F to 325°F (150°C to 160°C). Place the garment on the press and pre-press for 5-10 seconds to remove moisture and wrinkles. This step is crucial for proper adhesion.
3. Position the Transfer
Place the DTF transfer on the garment with the printed side facing up. If your transfer has a carrier film, ensure the design is positioned correctly. Use heat-resistant tape to secure it if needed.
4. Press the Transfer
Close the heat press and apply medium to firm pressure for 10-15 seconds. The exact time may vary depending on your press and transfer, so always follow the transfer manufacturer's instructions.
5. Peel the Film
After pressing, allow the transfer to cool completely before peeling off the carrier film. This is known as a "cold peel." Peeling while hot can distort the design. Once cooled, slowly peel the film away. If any part of the design lifts, lay the film back down and press again for a few seconds.
6. Post-Press for Durability
For added durability, place a Teflon sheet or parchment paper over the design and press again for 5-10 seconds. This ensures the adhesive fully cures and the print is secure.
Common Mistakes to Avoid
Even with a simple process, beginners often run into issues. Here are some pitfalls to watch out for:
- Insufficient pressure: Without enough pressure, the transfer won't bond properly. Adjust your press accordingly.
- Wrong temperature: Too hot can scorch the fabric or melt the film; too cold leads to poor adhesion. Always use a temperature gun to verify.
- Peeling too soon: Patience is key. Let the transfer cool completely before peeling.
- Not pre-pressing: Skipping pre-pressing can trap moisture, causing the transfer to peel off later.
- Using the wrong film: Ensure you're using quality DTF film and powder designed for your printer.
DTF Transfers vs. Other Printing Methods
How does DTF stack up against other popular methods? Let's compare:
- DTF vs. DTG: DTG requires pre-treatment and works best on 100% cotton. DTF works on almost any fabric and doesn't need pre-treatment.
- DTF vs. Vinyl: Vinyl is limited to solid colors and simple shapes. DTF can handle complex, multi-color designs with gradients and fine details.
- DTF vs. Screen Printing: Screen printing is cost-effective for large orders but requires setup and is limited by color count. DTF is ideal for small batches and full-color designs.
- DTF vs. Sublimation: Sublimation only works on light-colored polyester. DTF works on dark colors and cotton blends.
As you can see, DTF transfers offer a unique combination of flexibility and quality that few other methods can match.
Tips for Perfect DTF Transfers
To consistently achieve professional results, keep these tips in mind:
- Store transfers properly: Keep unused transfers in a cool, dry place away from direct sunlight to prevent the adhesive from degrading.
- Test your settings: Every heat press is different. Run a test press on a scrap fabric to dial in the perfect temperature, pressure, and time.
- Use quality materials: Invest in good DTF film, ink, and powder. Cheaper alternatives can lead to clogs and poor transfer quality.
- Maintain your printer: Regular cleaning and maintenance of your DTF printer will prevent clogged nozzles and ensure consistent prints.
- Wash garments inside out: To prolong the life of your DTF prints, advise customers to wash inside out in cold water and avoid harsh detergents.
Frequently Asked Questions
Can I use DTF transfers on any fabric?
DTF transfers adhere well to most fabrics, including cotton, polyester, blends, and even some leathers. However, fabrics with a heavy texture or waterproof coating may require special handling. Always test on a small area first.
How long do DTF transfers last?
With proper application and care, DTF transfers can last as long as the garment itself. They resist cracking and fading for 50+ washes when washed inside out in cold water and tumble dried on low.
Do I need a special printer for DTF transfers?
You can convert a standard inkjet printer to use DTF inks, or purchase a dedicated DTF printer. The key is using DTF-compatible inks and film. Many beginners start with a converted Epson printer.
What is the difference between hot peel and cold peel DTF transfers?
Hot peel transfers are peeled immediately after pressing while still hot, while cold peel transfers must cool completely before peeling. Cold peel is more common and generally yields better results for DTF. Always check your transfer's instructions.
Can I layer DTF transfers?
Yes, you can layer DTF transfers, but it's best to press each layer separately. Press the first transfer, peel, then apply the next. This ensures proper adhesion and avoids uneven pressure.
With these insights, you're well on your way to mastering DTF Transfers. Remember, practice makes perfect, so don't be afraid to experiment and refine your technique. Whether you're creating custom t-shirts for your brand or personalized gifts, DTF transfers offer a reliable and impressive solution.