
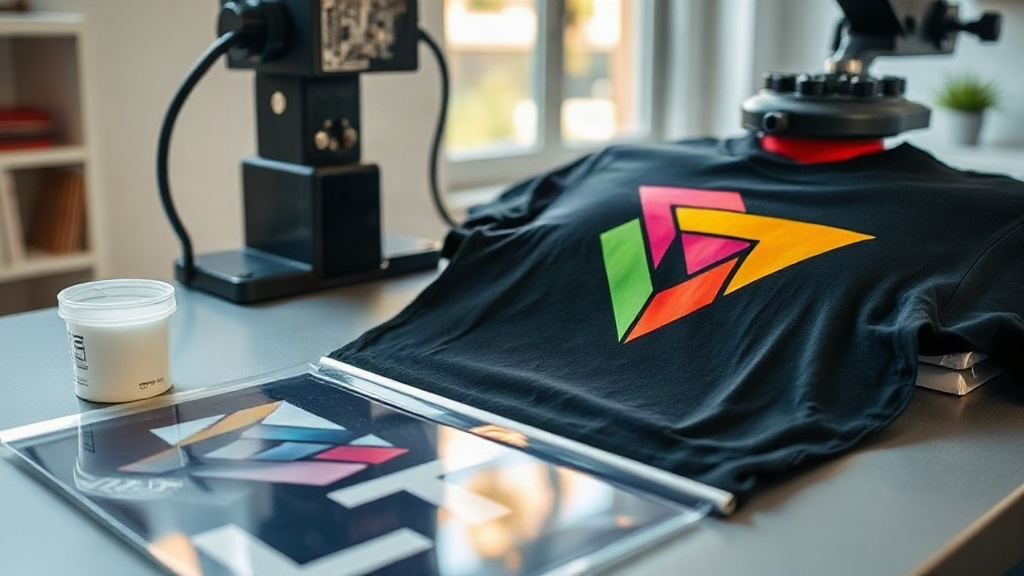
Imagine pressing a vibrant, full-color design onto a dark cotton t-shirt without any weeding, masking, or color limitations. That's the promise of DTF printing, a technology that's rapidly become a favorite among custom apparel creators. Whether you're a small business owner, a hobbyist, or a professional printer, understanding DTF printing can open up new possibilities for your projects. In this guide, we'll walk you through the entire process, compare it to other methods, and share practical tips to help you achieve professional-grade results.
What Is DTF Printing?
DTF stands for Direct to Film. It's a printing method where your design is printed onto a special film, coated with adhesive powder, and then heat-pressed onto fabric. Unlike DTG (Direct to Garment) printing, which prints directly onto the garment, DTF uses a transfer film as an intermediary. This allows for printing on a wider range of fabrics, including cotton, polyester, blends, and even nylon. The process is relatively new but has quickly gained traction due to its versatility and durability.
How DTF Printing Works: Step by Step
Understanding the workflow is essential to mastering DTF printing. Here's a detailed breakdown of each stage.
1. Design Preparation
Start with a high-resolution image. DTF printers can handle intricate details, but low-quality images will still look pixelated. Use design software like Photoshop or Illustrator to prepare your artwork. Remember that DTF prints are typically mirrored, so flip your design horizontally before printing. Also, consider the color of the fabric: DTF transfers include a white ink layer that acts as a base, so your design will be opaque even on dark shirts.
2. Printing onto Film
Load the DTF film into your printer. Most DTF printers use pigment-based inks (CMYK plus white). The printer lays down the white ink first, followed by the color inks. This order ensures that the colors remain vibrant when transferred. The film has a special coating that helps the ink adhere and release properly during transfer.
3. Applying Adhesive Powder
While the ink is still wet, sprinkle a thermoplastic adhesive powder over the printed area. The powder sticks to the wet ink. Then, shake off the excess and return it to the container for reuse. This powder is what will bond the design to the fabric when heat is applied.
4. Curing the Powder
Place the film in a curing oven or under a heat press for a short time (typically 2-3 minutes at around 160°C/320°F). The powder melts and forms a smooth, adhesive layer. Proper curing is crucial: undercuring leads to poor wash durability, while overcuring can cause the film to curl or the ink to discolor.
5. Heat Pressing onto Fabric
Set your heat press to the recommended temperature (usually 160-170°C/320-340°F) and pressure (medium to firm). Place the cured film on the garment with the design facing up. Press for 10-15 seconds. Then, peel the film off while it's still warm (warm peel) or after it cools (cold peel), depending on the film type. Finally, press again for a few seconds with a protective sheet to ensure the design is fully embedded.
DTF vs. Other Printing Methods
How does DTF stack up against DTG, screen printing, and vinyl? Each method has strengths and weaknesses.
DTF vs. DTG
DTF and DTG are often compared. DTG prints directly onto the garment, which limits it mostly to cotton fabrics. DTF, on the other hand, works on almost any fabric, including polyester and blends. DTF also tends to have more vibrant colors and better durability on dark garments because of the white ink base. However, DTF requires more steps (powder, curing) and can feel slightly thicker on the fabric.
DTF vs. Screen Printing
Screen printing is cost-effective for large orders but requires separate screens for each color, making it impractical for complex, multi-color designs or small batches. DTF excels at full-color, detailed designs and short runs, with no setup fees. The hand feel of DTF is generally softer than screen printing, though not as soft as DTG on light garments.
DTF vs. Vinyl
Heat transfer vinyl (HTV) is great for simple text and single-color logos, but layering multiple colors can be time-consuming. DTF handles intricate, multi-color designs in one press, saving time and labor. Vinyl can also be more expensive for complex designs due to material waste.
Choosing the Right DTF Supplies
Quality supplies make a big difference. Here's what to look for:
- DTF Film: Choose film that matches your printer and desired finish (matte or glossy). Double-sided film can reduce static and improve ink release.
- DTF Ink: Use high-quality pigment inks designed for DTF. Cheap inks can clog printheads and produce dull colors.
- Adhesive Powder: Finer powder (80-200 microns) gives a smoother feel. TPU-based powders are durable and flexible.
- Heat Press: A reliable heat press with accurate temperature and pressure control is essential.
Common Challenges and How to Overcome Them
Even experienced printers run into issues. Here are some common problems and solutions.
Ink Cracking or Fading
This often happens due to undercuring or insufficient pressure during transfer. Increase curing time or temperature slightly, and ensure your heat press applies even pressure. Also, check that the powder is fully melted.
Poor Adhesion After Washing
If the design peels after a few washes, the powder may not have bonded properly. Make sure you're using the correct powder for your fabric type and that the transfer is pressed at the right temperature. Washing garments inside out in cold water and avoiding bleach can also extend the life of the print.
Clogged Printheads
DTF inks contain white pigment, which can settle and clog nozzles if not used regularly. Perform daily maintenance: print a test pattern, clean the printhead, and cap the nozzles properly when not in use.
Applications of DTF Printing
DTF printing is incredibly versatile. It's used for:
- Custom t-shirts, hoodies, and sportswear
- Team uniforms and event merchandise
- Personalized gifts (tote bags, pillowcases)
- Denim jackets and jeans (great for detailed designs on denim)
- Polyester performance wear (where DTG struggles)
Tips for Stunning DTF Results
- Always do a test print on scrap fabric to dial in your settings.
- Use a lint roller on the garment before pressing to remove dust and fibers.
- Pre-press the garment for a few seconds to remove moisture and wrinkles.
- Store unused film in a cool, dry place to prevent curling.
- Keep a log of your settings for different fabrics and designs.
Frequently Asked Questions
How long does a DTF print last?
With proper application and care, a DTF print can last 50+ washes. It's known for its durability, often outlasting DTG prints. Following washing instructions (inside out, cold water, no bleach) will maximize longevity.
Can I use DTF on 100% polyester?
Yes, DTF works well on polyester, including performance fabrics. The low-temperature transfer (compared to DTG) prevents dye migration, and the white ink base ensures vibrant colors. However, some very stretchy polyesters may require a stretchable powder.
Do I need a special printer for DTF?
You can convert a standard inkjet printer to DTF using DTF ink and film, but dedicated DTF printers are recommended for best results. They have white ink channels and are designed to handle the thick inks. Alternatively, you can outsource printing to a DTF service.
What fabrics can I print on with DTF?
DTF adheres to cotton, polyester, blends, nylon, denim, and even leather. It's not suitable for fabrics with a heavy water-repellent coating or very rough textures like burlap.
Is DTF printing cost-effective for small orders?
Absolutely. Unlike screen printing, there are no setup fees or minimums. You can print one-off designs economically. The main costs are film, ink, and powder, which are reasonable for short runs.